How to Make a Decision Tree in Word?
A decision tree is a mind map with a tree-like development layout. A mind map is a visual way of presenting an idea or topic systematically. The goal of a mind map is to plan and organize ideas quickly and easily. Mind maps consist of a main central idea and other connecting thoughts arranged around that central idea. There is no hard and fast rule when it comes to drafting a mind. Hence, they are very simple to use and can be useful to anyone who likes organizing thoughts. This article will teach you how to make a decision tree diagram in Word without any hassle!
How to Make a Decision Tree in Word?
Use MS Word on your work territory and select a specific page. To make a decision tree in Word, you can either use the fundamental shapes. As unfortunately, there is no decision tree composition in Word.
Before you begin spreading out your decision tree diagram, you need to have the crucial subject in mind. Recognize the crucial information about your point and how they relate to it. By and by, to design the decision tree, Microsoft word use any of the going with decisions.
MS PowerPoint has a lot of options in getting sorted out choices to alter and re-attempt the decision tree. You can also utilize contraptions in the home option, then Insert tab, and Format option to change your decision tree. You can add pictures, gifs, logos, and other visual cues like graphs and portrayals. Keep on changing unless you are content with your work breakdown structure template powerpoint.
At whatever point you have completed your decision tree, click on File and save for dispatching the sub-window. Name your decision tree, select the place where you want to save it, and snap-on Save.
How to Make a Decision Tree in EdrawMind?
A decision tree can fill in as an unimaginable visual, mechanical assembly to help you recognize the best circumstance by contemplating all the expected other options. Microsoft Word can amass a real and fundamental level decision tree. In case you endeavor to draw an irrefutable decision tree in Word, the result would be messy and difficult to handle while learning how to make a decision tree in Word.
First thing, open the EdrawMind work territory application. You will see different kinds of maps under Available Templates and formats under Local Examples. For this instructional exercise, we will pick the Org-Chart Map.

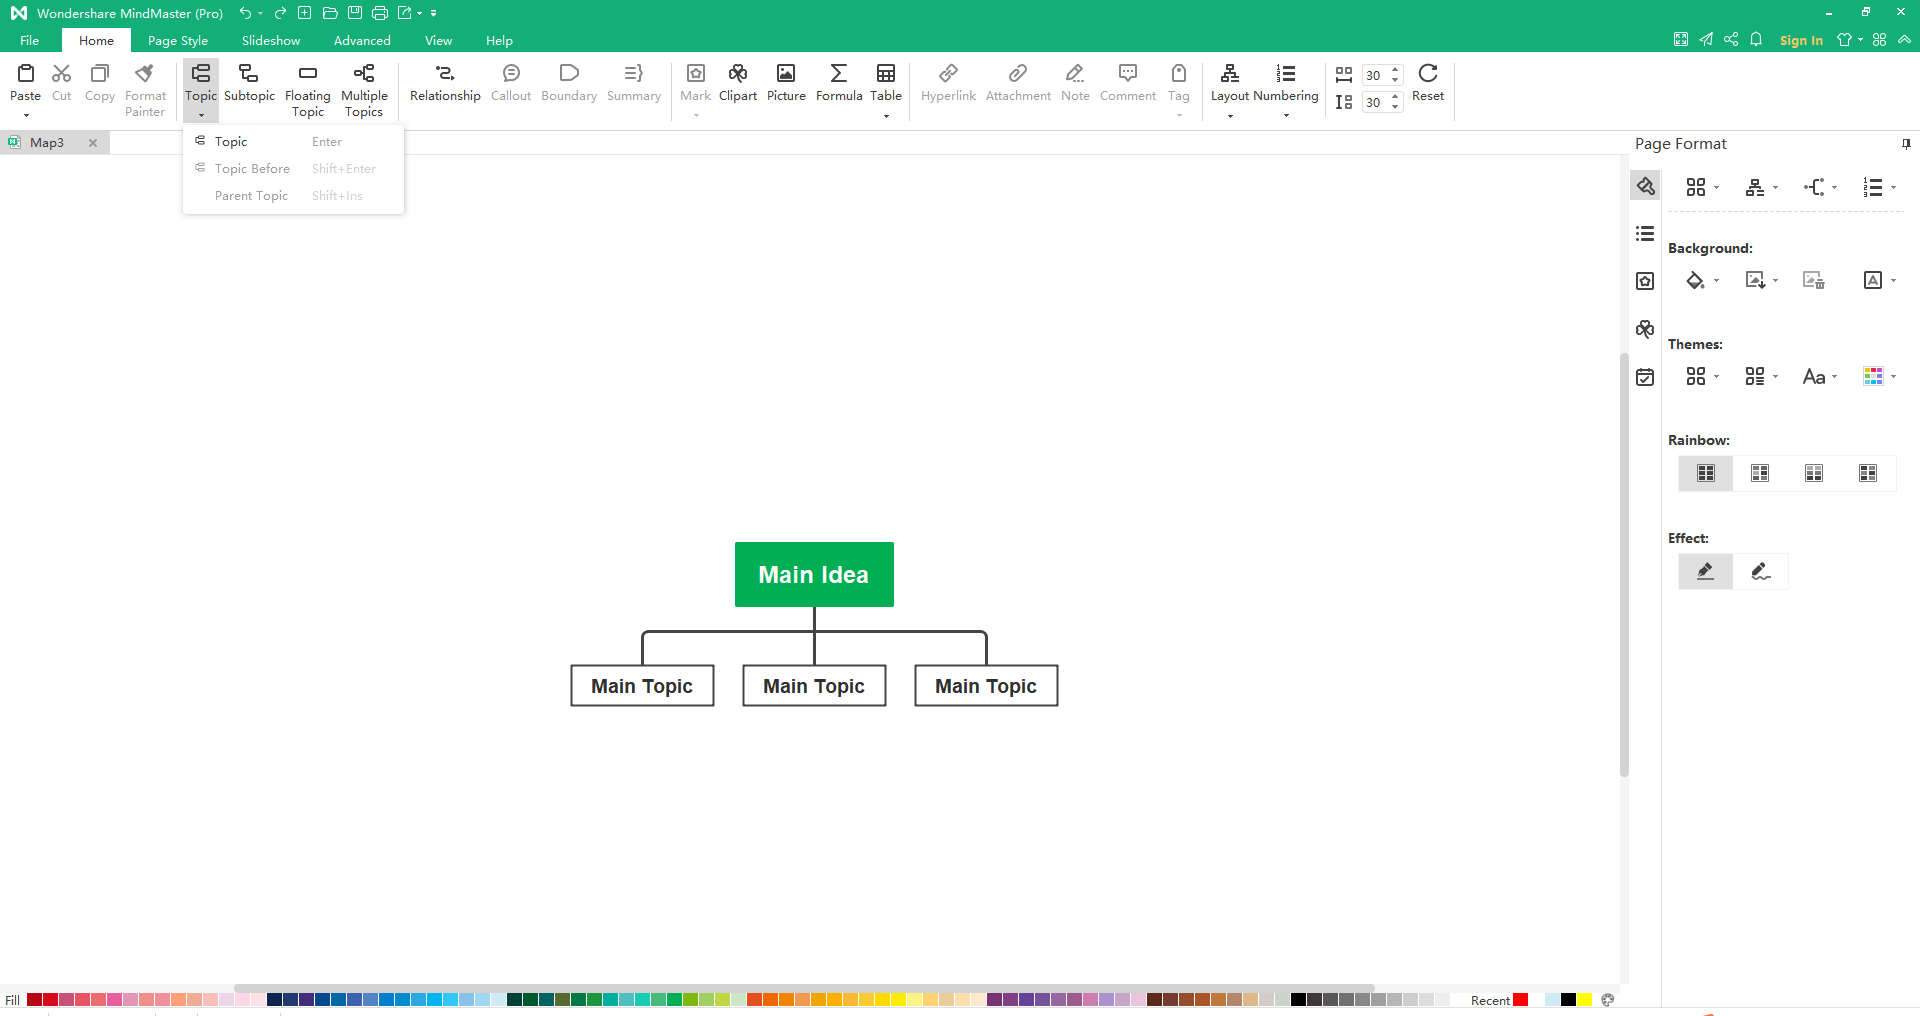
To draw a decision tree without any planning, use the instruments in Home Tab in EdrawMind work territory. To draft a decision tree, click on Topic for the essential subject, add subtopics or skimming focuses, ultimately add branches using the Relationship decision. Likewise, keep changing or adding more parts until your decision tree is done. Finally, enter text in your decision tree.
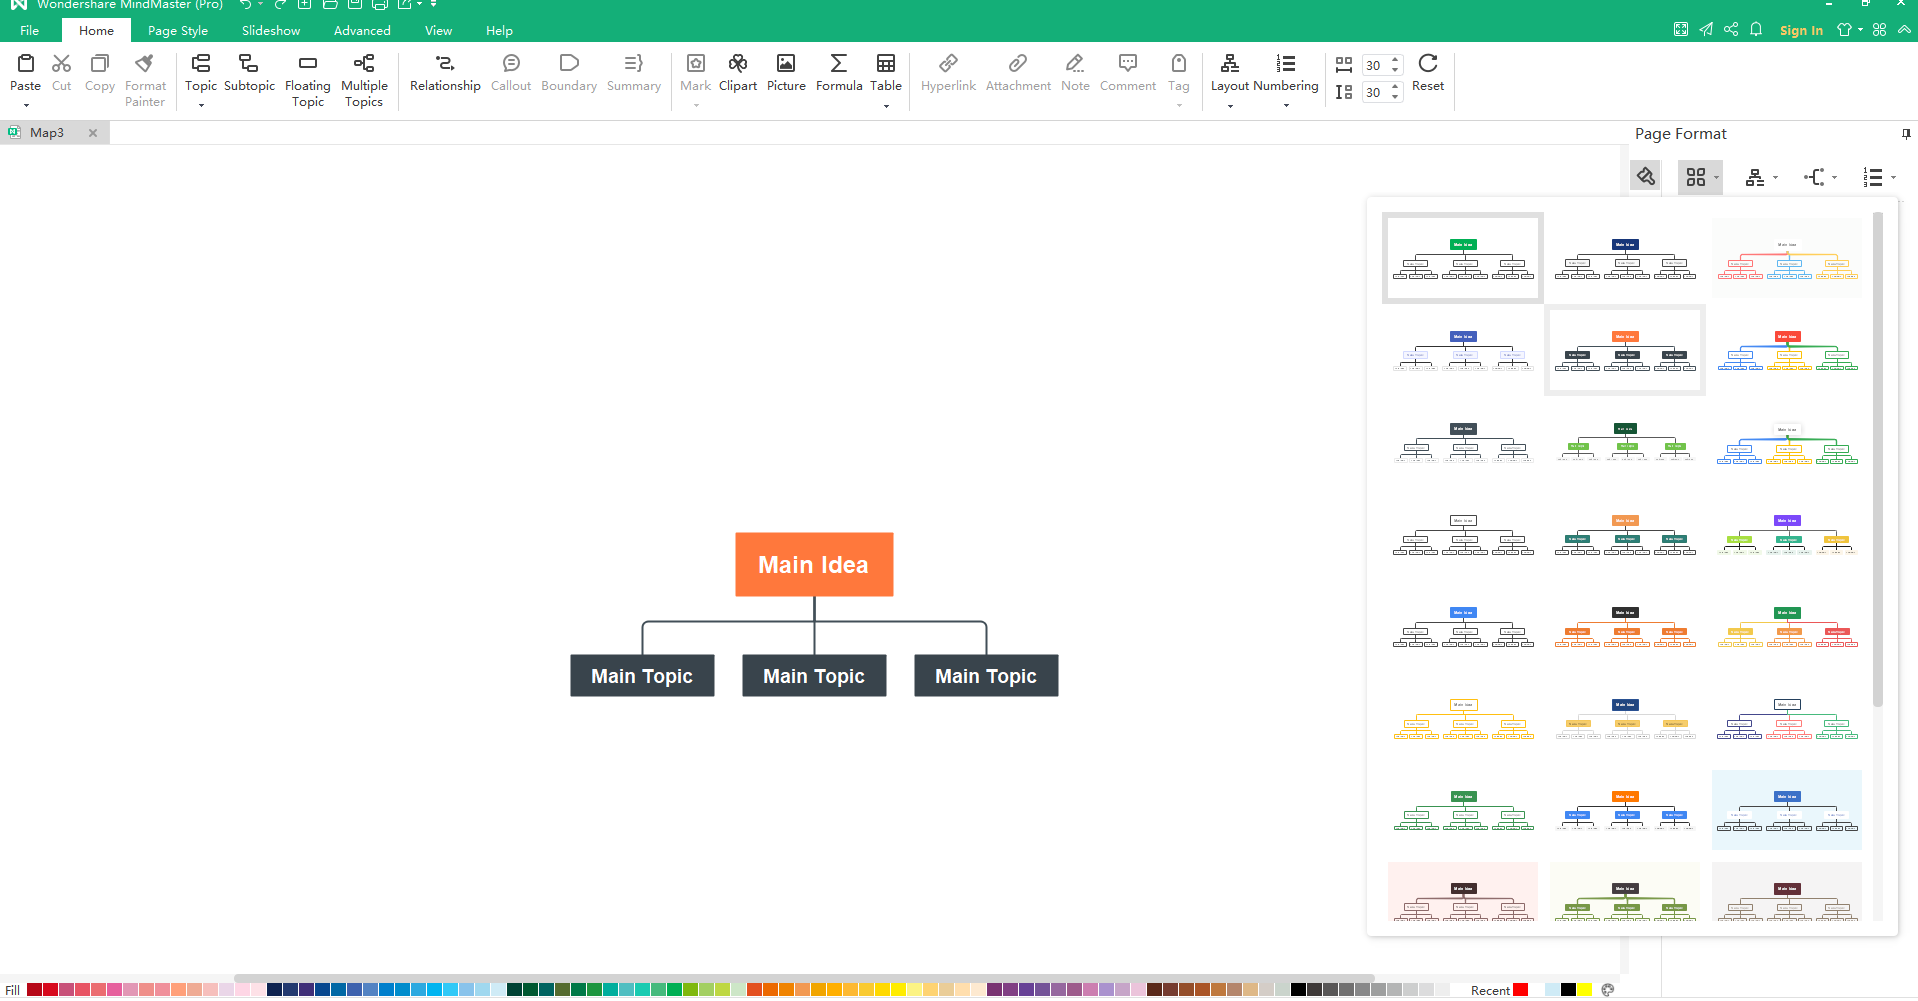
Presently add tones and visual signifiers to make your decision tree appealing. You can utilize the Format Tab on the right side of the screen to play with colors, textual styles, foundation, and so forth Essentially. You can add shapes, gifs, pictures, logs, signs, watermarks, and that's only the tip of the iceberg! Keep altering until you are fulfilled.
How to export a EdrawMind decision tree diagram as a Word file?
You can save your mind map file of the Microsoft Word in Word association and open it later when you need to use it. This will help you roll out some quick improvements. To save the decision tree in Word configuration, go to the File menu and select Export by selecting Word Export in doc design. You can use Microsoft Word and EdrawMind both to settle on a decision tree. With its confined functionalities, Microsoft Word can help decide on a decision tree in Word, and this is how to make a decision tree in Word.